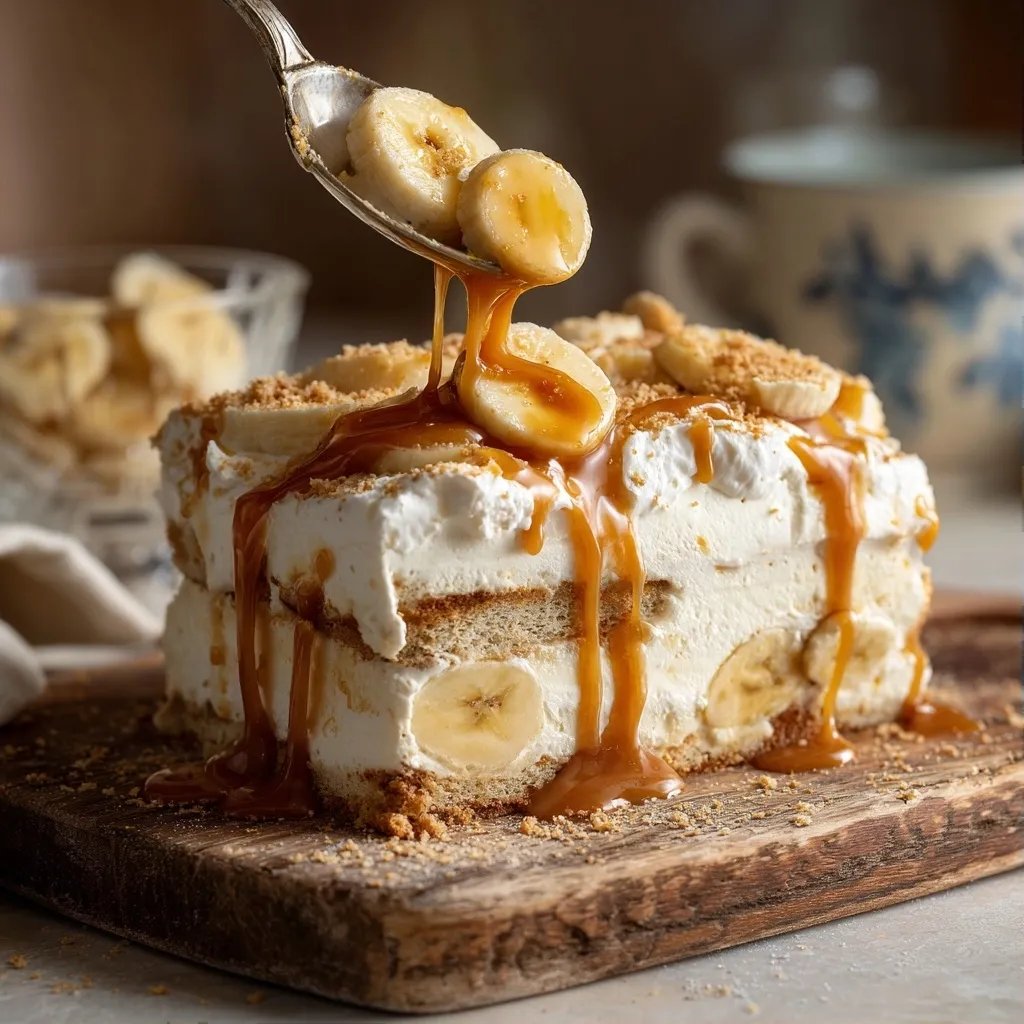
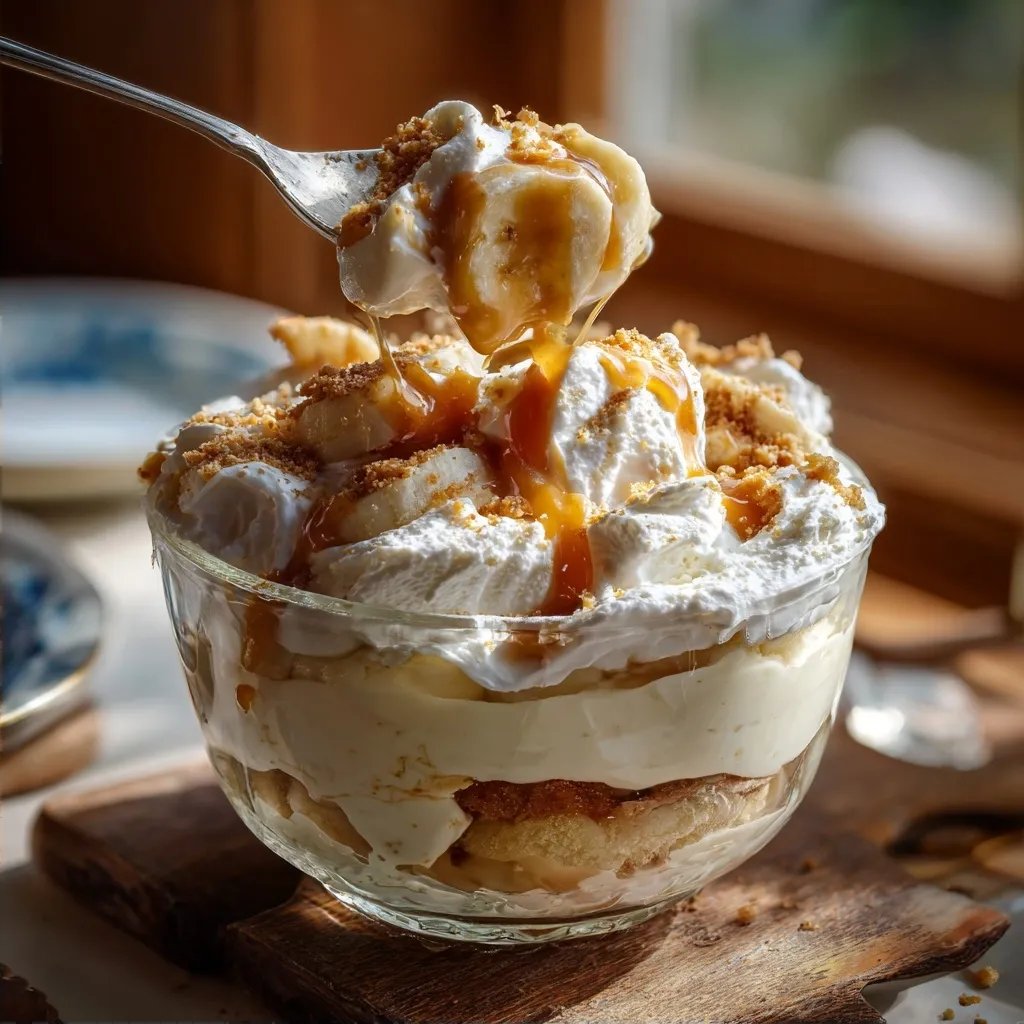
Magnolia Banana Pudding
Highlighted under: Cozy Dessert Classics
For something this simple, it has no right being this good. I never thought a banana pudding could impress me, but here we are. This recipe is a long time family favorite, and when I serve it, I can practically see the smiles on everyone’s faces. It's creamy, sweet, and has just the right amount of banana. Honestly, the hardest part for me is waiting for the flavors to meld before digging in.
When I first made this banana pudding, I didn't let the pudding cool long enough, and it completely fell apart when served. I learned that patience is key here, letting it set in the fridge makes all the difference. The flavors really get a chance to meld, and the whole thing firms up so beautifully. Trust me, it’s worth the wait!
I've tried a couple of variations, using whipped cream or even crushed cookies for added texture, but I keep coming back to the basics. There’s something comforting about this classic recipe that can't be topped. Just serve it chilled, and watch everyone go back for seconds.
What Makes This Stand Out
- The creamy custard has just the right balance of sweetness
- Bananas get perfectly ripe while chilling
- Everyone can customize their own portion with topping options
Choosing Your Ingredients
When you're making Magnolia Banana Pudding, quality ingredients can make a real difference. I always recommend using ripe bananas. They should be sweet yet firm, not overly mushy. If they’re too green, they won’t have that delicious sweetness to complement the pudding. You want them to be spotted, indicating they're perfectly ripe.
As for the Nilla wafers, while they’re iconic and taste amazing, you could swap them out for another cookie if you’re in a pinch. Just keep in mind that the flavor and texture might change a bit. I've even used crushed graham crackers once, and it turned out fine, just not quite the same.
A Quick Note on Magnolia Banana Pudding
This pudding is all about patience. Once you've layered everything up, letting it chill in the fridge is crucial to achieve that creamy consistency. If you dive in too early, it might not hold its shape as well as you'd like. Trust me, waiting those 4 hours makes a noticeable difference in the texture, and it's totally worth it.
You can also play around with the assembly. Sometimes I like to toss in some chocolate shavings or a drizzle of caramel sauce in between the layers for a little extra flair. Honestly, I just take it as it comes based on what I have in the pantry at the time. This recipe really lends itself to some creativity.
Ingredients
Here’s everything you’ll need to make this dreamy dessert.
For the Pudding
- 1 can (14 oz) sweetened condensed milk
- 1 1/2 cups whole milk
- 1/4 cup granulated sugar
- 1/3 cup cornstarch
- 1/2 teaspoon vanilla extract
- 3 ripe bananas
For Assembly
- 1 box (12 oz) Nilla wafers
- 1 cup heavy whipping cream
- 2 tablespoons powdered sugar
That’s it! Simple but oh-so-good.
Instructions
Let’s get started on this banana pudding.
Make the Pudding
In a medium saucepan, whisk together the sweetened condensed milk, whole milk, sugar, and cornstarch. Heat over medium-low, stirring constantly until it starts to thicken, about 10 minutes. Add the vanilla extract and remove from heat. Transfer to a bowl to cool slightly and cover with plastic wrap directly on the surface to avoid a skin from forming.
Assemble
In a large bowl, beat the heavy cream with powdered sugar until you achieve stiff peaks. This usually takes about 3-4 minutes with a hand mixer. Slice the bananas just before you're ready to layer them in the dish. In a large serving dish, layer Nilla wafers, followed by banana slices, and then a layer of the pudding. Repeat until you've got three layers, finishing with pudding on top.
Finishing Touches
After layering, cover the dish with plastic wrap and refrigerate for at least 4 hours, or overnight if you can wait. This is the hardest part but vital for great texture. When ready to serve, add extra whipped cream on top or crushed Nilla wafers for some crunch, if desired.
Now all you need to do is sit back and enjoy!
Pro Tips
- For a chocolate twist, try adding chocolate wafer cookies instead of Nilla wafers.
- Make sure your bananas are just ripe, too green or too soft can change the texture.
- If you're in a hurry, you can use boxed pudding mix instead.
Troubleshooting
If your pudding is too runny, it might be due to not cooking it long enough. Keep whisking over the heat until it thickens and looks somewhat glossy. If you end up with lumps, don't worry too much—just give it a good stir, and most of them should break down, or you can pass it through a fine-mesh sieve to smooth it out.
Sometimes my whipped cream doesn't reach stiff peaks, which can be frustrating. If that happens, just keep beating it a little longer, or try adding a touch more powdered sugar. It helps stabilize the cream. Remember, it should hold a soft peak—If it looks a bit loose, it's not quite there yet.
Magnolia Banana Pudding Variations Worth Trying
One way to mix things up is by adding a layer of peanut butter to the pudding. It adds a rich, nutty flavor that goes surprisingly well with the bananas. Just swirl in a bit of creamy peanut butter when you're making the pudding for that added touch.
If you want something a bit lighter, try using a mix of heavy cream and Greek yogurt in the whipped topping. It gives a tangy twist and cuts down on the richness while still keeping that creamy mouthfeel. You can also use coconut milk as a base for a dairy-free version, just keep an eye on the sweetness since coconut milk can vary in flavor.
Magnolia Banana Pudding
Created by: The Globalbitesrecipes Team
Recipe Type: Cozy Dessert Classics
Skill Level: Easy
Final Quantity: 8.0
What You'll Need
For the Pudding
- 1 can (14 oz) sweetened condensed milk
- 1 1/2 cups whole milk
- 1/4 cup granulated sugar
- 1/3 cup cornstarch
- 1/2 teaspoon vanilla extract
- 3 ripe bananas
For Assembly
- 1 box (12 oz) Nilla wafers
- 1 cup heavy whipping cream
- 2 tablespoons powdered sugar
How-To Steps
In a medium saucepan, whisk together the sweetened condensed milk, whole milk, sugar, and cornstarch. Heat over medium-low, stirring constantly until it starts to thicken, about 10 minutes. Add the vanilla extract and remove from heat. Transfer to a bowl to cool slightly and cover with plastic wrap directly on the surface to avoid a skin from forming.
In a large bowl, beat the heavy cream with powdered sugar until you achieve stiff peaks. This usually takes about 3-4 minutes with a hand mixer. Slice the bananas just before you're ready to layer them in the dish. In a large serving dish, layer Nilla wafers, followed by banana slices, and then a layer of the pudding. Repeat until you've got three layers, finishing with pudding on top.
After layering, cover the dish with plastic wrap and refrigerate for at least 4 hours, or overnight if you can wait. This is the hardest part but vital for great texture. When ready to serve, add extra whipped cream on top or crushed Nilla wafers for some crunch, if desired.
Extra Tips
- For a chocolate twist, try adding chocolate wafer cookies instead of Nilla wafers.
- Make sure your bananas are just ripe, too green or too soft can change the texture.
- If you're in a hurry, you can use boxed pudding mix instead.
Nutritional Breakdown (Per Serving)
- Calories (kcal): 342
- Total Fat (g): 13.9
- Saturated Fat (g): 6.1
- Cholesterol (mg): 35
- Sodium (mg): 158
- Total Carbohydrates (g): 49.4
- Dietary Fiber (g): 1.3
- Sugars (g): 29
- Protein (g): 5.3