Mini Fruit Tarts: The Ultimate Amazing Recipe for Everyone
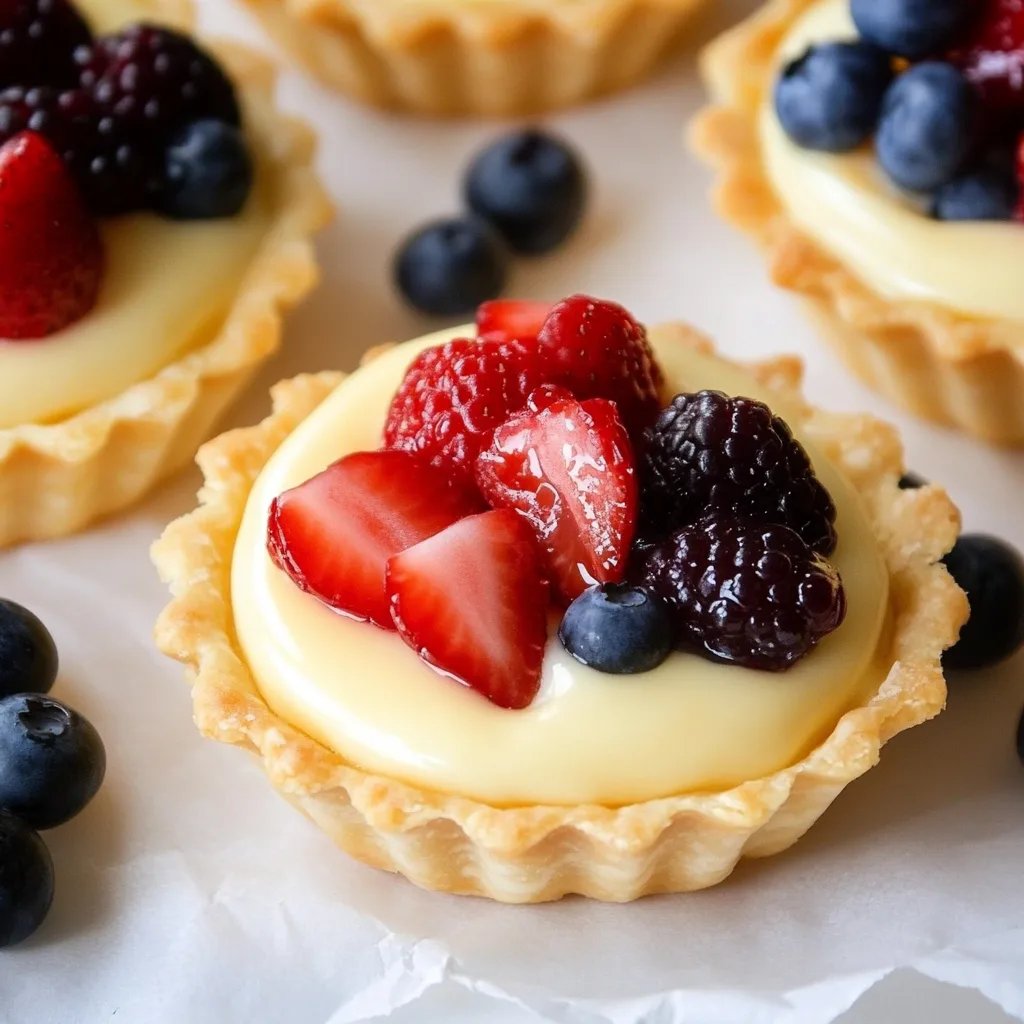
Mini Fruit Tarts are a delightful way to indulge in a burst of flavors and textures. These charming desserts feature a buttery crust filled with smooth pastry cream and topped with an assortment of fresh fruits. Often regarded as the perfect sweet treat, mini fruit tarts present a colorful and appetizing visual presentation that is hard to resist. Whether you’re hosting a party, celebrating a special occasion, or simply looking for a delicious dessert to enjoy, these tarts are sure to impress!
The joy of biting into a mini fruit tart is unmatched. You’ll first encounter the crispiness of the crust, followed by the luscious cream and the vibrant tastes of fresh fruits. This harmony of flavors and textures makes mini fruit tarts an incredible treat for any sweet tooth. In this article, we’ll explore why this recipe is a must-try, break down the preparation and cooking times, reveal the necessary ingredients, provide step-by-step instructions, and discuss the best ways to serve these delightful treats.
If you have a passion for baking or are simply looking for a fun and engaging recipe to try out, you’re in the right place. Mini fruit tarts don’t just look good; they also bring joy and excitement to any table. Get ready to bake something wonderful that your family and friends will adore!
Why You’ll Love This Recipe
Mini Fruit Tarts are more than just delicious; they offer a unique combination of flavors and textures that make them exceptionally pleasing. Here are some reasons why you’ll fall in love with this recipe:
- Freshness: Using seasonal fruits ensures that your tarts are brimming with freshness and flavor.
- Versatile: You can customize the toppings based on your favorite fruits or what’s available, making it adaptable for any occasion.
- Impressive Presentation: The vibrant colors of the fruits along with neatly arranged designs make these tarts beautiful centerpieces for gatherings.
- Perfect for Any Occasion: Whether it’s a birthday party, a bridal shower, or just a casual family dinner, these tarts fit the bill.
- Easy to Bake: Despite their impressive appearance, mini fruit tarts are relatively simple to make, even for beginner bakers.
- Indulgent Flavor: The combination of creamy filling, crispy crust, and juicy fruits creates an incredibly indulgent dessert that you won’t forget.
Overall, this recipe is not just about food; it’s about creating a delightful experience for both the baker and those who enjoy the end product!
Preparation and Cooking Time
Making Mini Fruit Tarts is not overly time-consuming. Here’s a breakdown of the anticipated time you will need:
- Preparation Time: 25 minutes
- Cooking Time: 15-20 minutes
- Cooling Time: 30 minutes
- Assembly Time: 15 minutes
In total, you can expect the entire process to take around 1 hour and 15 minutes, which is manageable for anyone eager to create a delicious dessert.
Ingredients
- For the Tart Crust:
- 1 cup all-purpose flour
- 1/2 cup unsalted butter, softened
- 1/4 cup powdered sugar
- 1/4 teaspoon salt
- 1 large egg yolk
- For the Pastry Cream:
- 1 cup whole milk
- 1/4 cup granulated sugar
- 2 tablespoons cornstarch
- 2 large egg yolks
- 1 teaspoon vanilla extract
- 1 tablespoon unsalted butter
- For the Topping:
- An assortment of fresh fruits (e.g., strawberries, blueberries, kiwi, raspberries, or mango)
- Apricot jam or glaze (optional, for shine)
This straightforward ingredient list is all you need to craft these amazing mini fruit tarts.
Step-by-Step Instructions
Creating Mini Fruit Tarts can be a fun experience! Follow these steps for a successful batch:
- Preheat the oven: Preheat your oven to 350°F (175°C).
- Make the tart crust: In a large bowl, cream together the softened butter and powdered sugar until light and fluffy.
- Add dry ingredients: Gradually mix in the flour and salt until the mixture resembles coarse crumbs.
- Incorporate the egg yolk: Add the egg yolk to the mixture and combine until a dough forms.
- Chill the dough: Wrap the dough in plastic wrap and refrigerate for about 15 minutes.
- Shape the tarts: Roll out the dough on a lightly floured surface and cut into circles. Press each circle into a mini tart pan or muffin tin.
- Bake the crusts: Prick the bottoms of the crusts with a fork and bake for 15-20 minutes, or until golden brown. Allow to cool completely.
- Prepare the pastry cream: In a saucepan over medium heat, whisk together the milk, sugar, and cornstarch. Bring to a simmer.
- Combine with egg yolks: In a separate bowl, whisk the egg yolks together. Gradually pour the hot milk mixture into the yolks, whisking constantly.
- Return to heat: Pour the mixture back into the saucepan and cook until thickened, stirring constantly. Remove from heat and stir in vanilla extract and butter. Chill until set.
- Assemble the tarts: Once the tart shells and pastry cream are cooled, fill each shell with the cream.
- Top with fruits: Artfully arrange the fresh fruits on top of the pastry cream.
- Glaze (optional): If desired, heat apricot jam and brush it over the fruits for a shiny finish.
- Chill before serving: Refrigerate the assembled tarts for about 15 minutes to firm up the filling.
These steps will guide you in creating these delightful sweets effortlessly!
How to Serve
When it’s time to serve your mini fruit tarts, consider these tips to make the occasion special:
- Presentation: Arrange the tarts on a beautiful serving platter or cake stand to enhance visual appeal.
- Accompaniments: Pair the tarts with a dollop of whipped cream or a scoop of vanilla ice cream for added indulgence.
- Portion Control: Since they are small, encourage guests to try a variety by offering smaller portions.
- Beverage Pairing: Serve these tarts with chilled sparkling wine, herbal tea, or a light dessert wine for a refreshing finish.
- Garnish: Add a sprig of mint on top of each tart to elevate the look and add a hint of freshness.
By taking these steps, you can ensure that your mini fruit tarts are not only delicious but also visually stunning, creating memorable moments for you and your guests!
Additional Tips
- Use Fresh Fruits: Always opt for the freshest seasonal fruits available. This will enhance the taste and presentation of your mini fruit tarts.
- Don’t Overbake the Crust: Keep an eye on the tart crust while it’s in the oven. It should be golden brown but not too dark, as overbaking can affect the flavor.
- Customize Fillings: While pastry cream is classic, consider experimenting with flavored cream cheese or whipped cream to vary the taste.
- Use a Pastry Bag: For a more elegant look, pipe the pastry cream into the tart shells using a pastry bag.
- Add Zest: A little lemon or orange zest in the pastry cream can add a delightful zing to the flavor profile.
Recipe Variation
Variety is the spice of life! Here are some creative variations to try with mini fruit tarts:
- Chocolate Tart Crust: Substitute part of the flour with cocoa powder in the tart crust for a chocolatey twist.
- Tropical Fruits: Use tropical fruits like pineapple, mango, and passion fruit for a sunny, refreshing dessert.
- Nut Crust: Incorporate finely ground nuts, such as almond or hazelnut, into the tart crust for added flavor and texture.
- Cream Cheese Filling: Alternate the pastry cream with a rich cream cheese filling for a tangy contrast to the sweetness of the fruits.
- Honey Glaze: Instead of apricot jam, use a honey glaze for an all-natural shine and added sweet flavor.
Freezing and Storage
- Storage: These mini fruit tarts are best enjoyed fresh. However, you can store them in the fridge for up to 2 days. Place them in an airtight container to prevent the crust from getting soggy.
- Freezing: If you’d like to prepare tarts ahead of time, consider freezing the crusts separately. You can freeze the baked tart shells for up to 2 months. Just thaw and fill with pastry cream and fresh fruits before serving.
Special Equipment
Certain utensils will help you create perfect mini fruit tarts:
- Mini Tart Pans or Muffin Tin: These will shape your crusts beautifully.
- Whisk: For making the pastry cream smooth and creamy.
- Rubber Spatula: Essential for folding ingredients and scraping bowls clean.
- Pastry Brush: Use this for glazing the fruits with jam for a lovely sheen.
- Rolling Pin: Helps to roll out the dough evenly for the tart crusts.
Frequently Asked Questions
Yes, but fresh fruits yield the best flavor and texture. If using frozen, ensure they are thoroughly thawed and dried before using.
How do I know when the tart crust is done?The crust should be a light golden brown. You can poke it gently; it should feel firm to the touch.
Can I make the pastry cream in advance?Absolutely! You can prepare the pastry cream a day ahead and store it covered in the fridge until you are ready to assemble the tarts.
What if my crust shrinks during baking?To prevent shrinking, ensure the dough is well-chilled before baking and avoid stretching it when fitting into the pans.
Is there a gluten-free option for the tart crust?Yes, you can replace all-purpose flour with a gluten-free flour blend, ensuring it has a binding agent for structure.
Conclusion
Mini Fruit Tarts are a wonderful addition to any dessert table. Their vibrant colors, distinct textures, and delicious flavors make them a favorite for both family gatherings and special occasions. Not only are they relatively easy to prepare, but they also invite creativity with endless customization options. With each bite, you experience the delightful contrast between the crunchy crust, silky pastry cream, and fresh fruits. So, gather your ingredients, follow the easy steps, and enjoy baking these delightful treats that are sure to impress everyone!