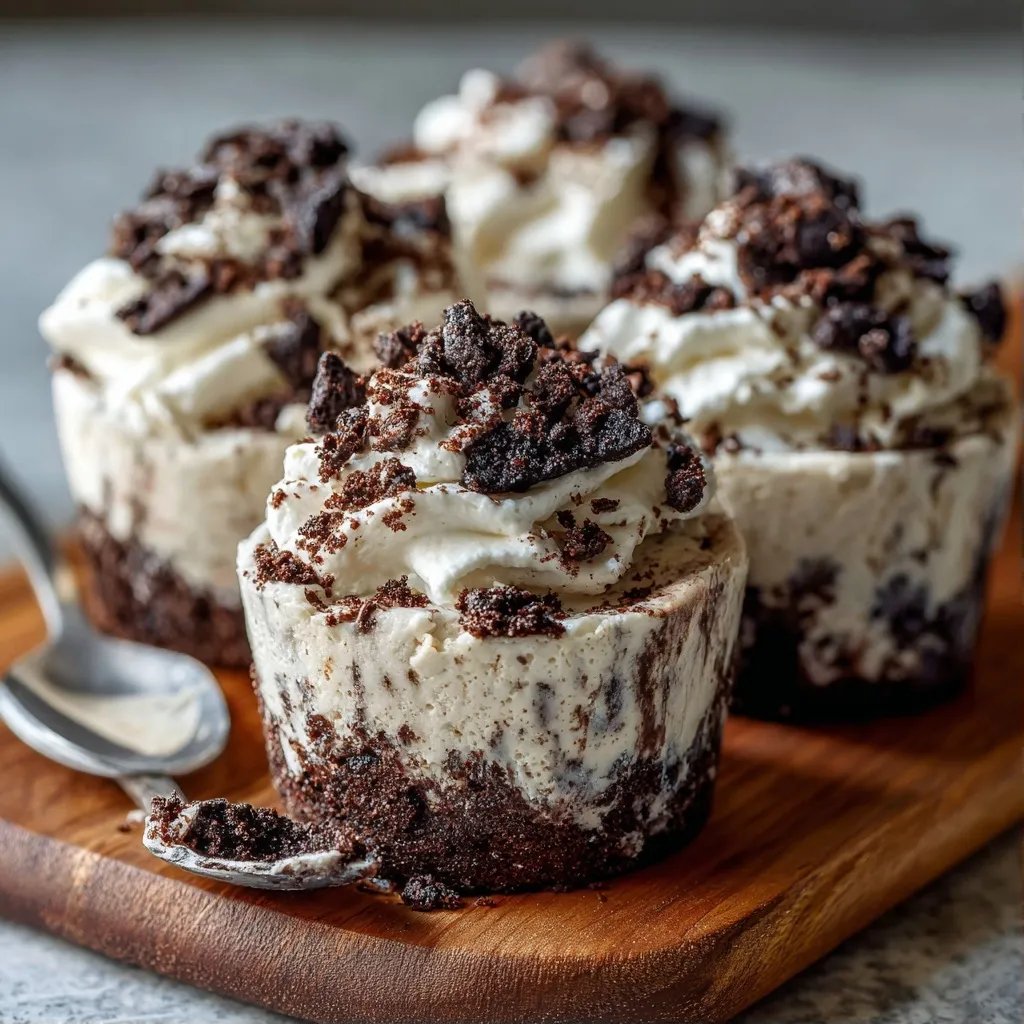
Dirt Cake Cups
Highlighted under: Cozy Dessert Classics
We had a fun dessert party planned, and I needed something that would impress without taking hours to prepare. That’s when I remembered my go-to Dirt Cake Cups. Not only are they super easy to assemble, but they also bring that nostalgia from childhood with every spoonful. A bit of chocolate pudding, some crushed cookies, and a sprinkle of gummy worms, and you've got a dish that's sure to make everyone smile.
Making these Dirt Cake Cups takes me back to my childhood. I remember my mom would whip them up for family gatherings, and everyone would dig into them like it was a contest. The combination of rich chocolate pudding and crushed cookies is just the best, especially with those gummy worms adding a playful touch. Honestly, the hardest part is not eating the cookie crumbs before I layer them.
In my opinion, these cups are an easy win for dessert. You can make them ahead of time and just let them chill in the fridge until you're ready to serve. If you have kids, they'll love getting involved with the decoration and choosing their favorite toppings. You really can’t go wrong here, and at the end of the day, it’s all about having fun with it!
What Makes This Stand Out
- No baking required at all
- A fun hands-on treat for kids
- Leftovers (if there are any) taste just as good the next day
Getting the Texture Right for Dirt Cake Cups
When you're making these Dirt Cake Cups, the texture of the pudding is key. You want it thick enough to hold up the layers, but not so thick that it feels heavy. If it’s too runny, just let it sit for a little longer; pudding usually firms up as it cools. If you're using instant pudding like I do, look for that glossy finish when it's ready.
The crushed Oreos should resemble fine dirt, so don’t stress if some chunks are a little bigger. This adds character. If you're in the mood for a quicker solution, you could use chocolate sandwich cookies, but honestly, Oreos deliver that authentic taste I can't resist.
Ingredient Notes
Using whipped topping gives the Dirt Cake Cups a lightness that balances the pudding and Oreos. If you prefer it more homemade, feel free to make your own whipped cream. Just keep in mind, it might not hold up as well as the store-bought variety, especially if you're making these a day in advance.
For the gummy worms, I always go for the classic ones, but if you're feeling adventurous, there's a whole world of edible decorations out there. I’ve tried it with mini chocolate candies and sprinkles, and, let me tell you, kids absolutely love it. Just remember to keep it colorful and fun!
Ingredients
Gather up these simple ingredients to make your Dirt Cake Cups:
For the Dirt Cake Cups
- 2 cups chocolate pudding (I like Jell-O instant pudding)
- 1 package Oreo cookies (15.25 oz), crushed
- 1 cup whipped topping (like Cool Whip)
- Gummy worms for decoration
These ingredients are pretty standard and easy to find!
Instructions
Here's how to put these cups together quickly:
Make the Pudding
In a mixing bowl, prepare the chocolate pudding according to the package instructions. Usually, that just means whisking together the pudding mix with two cups of milk until it thickens. It should take around 2 minutes. Set it aside to set fully while you move on to the next steps.
Crush the Oreos
While the pudding is setting, take the package of Oreos and crush them into a fine crumb. You can do this using a food processor, or if you want to get a bit old school, put them in a zip bag and crush them with a rolling pin. Just don’t make the pieces too big - you want some finer crumbs to resemble dirt.
Layer Everything Up
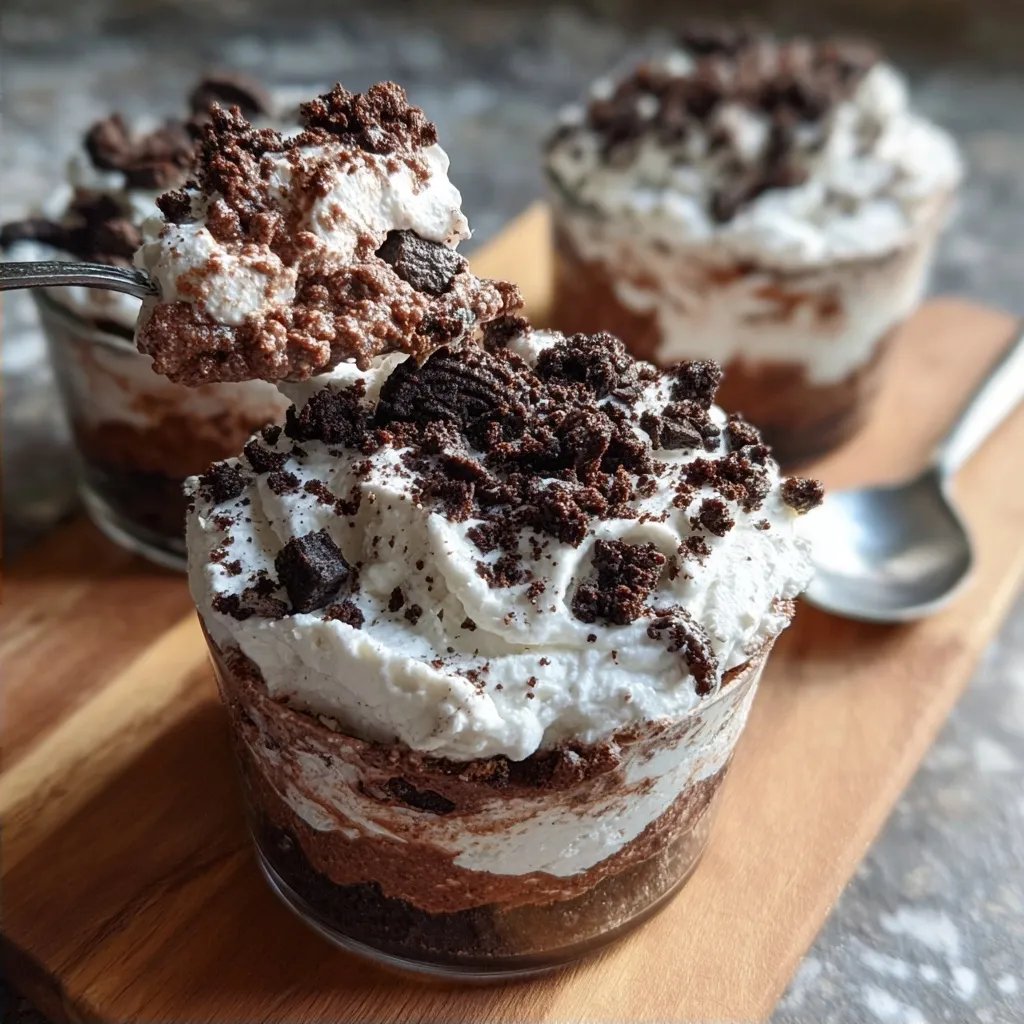
Now it’s time to assemble! In small cups or bowls, start by adding a layer of chocolate pudding. Then sprinkle a layer of crushed Oreos – be generous! Add a spoonful of whipped topping next. Repeat these layers until the cups are nearly full, finishing with a layer of crushed Oreos on top.
Decorate and Serve
For the final touch, place some gummy worms on top for fun. Let them chill in the refrigerator for at least 10 minutes before serving. If you're making them ahead of time, you can cover them and store them in the fridge for a couple of days.
And that's it! You’ve got a delightful dessert ready to impress anyone.
How to Store Dirt Cake Cups
If you find yourself with leftovers—though that’s rare with this treat—you can chill them in the fridge for a couple of days. Just cover them loosely with plastic wrap or put a lid on the container; this helps maintain their texture without getting soggy. Honestly, I’ve enjoyed them just as much on day two; the flavors mix a bit, but it’s still delicious.
Avoid freezing them, though. The whipped topping doesn’t fare well in the freezer, and you don't want that sad, icy texture ruining your dessert.
Ways to Switch It Up
Feeling creative? You can switch things around quite a bit with this recipe. Instead of chocolate pudding, vanilla offers a nice contrast with Oreos on top. Or, if you’re a peanut butter lover, try mixing some into your whipped topping for a different taste.
Seasonal variations are a hit too! During Halloween, I’ve slipped in some candy corn or spooky sprinkles on top instead of gummy worms. And in the summer, fresh berries can really brighten things up. Don’t be afraid to mix and match; it’s all about having fun in your kitchen!
Questions About Recipes
→ Can I use different cookies?
You can, but I wouldn't recommend it for the same taste. There's something about Oreos that just works perfectly here!
→ How can I make this in advance?
Honestly, these cups hold up well in the fridge for a day or two. Just keep them covered.
→ What if I don't like chocolate pudding?
No worries! You can swap it for vanilla or even a fruity pudding if that’s your style.
Dirt Cake Cups
Created by: The Globalbitesrecipes Team
Recipe Type: Cozy Dessert Classics
Skill Level: Beginner
Final Quantity: 6.0
What You'll Need
For the Dirt Cake Cups
- 2 cups chocolate pudding (I like Jell-O instant pudding)
- 1 package Oreo cookies (15.25 oz), crushed
- 1 cup whipped topping (like Cool Whip)
- Gummy worms for decoration
How-To Steps
In a mixing bowl, prepare the chocolate pudding according to the package instructions. Usually, that just means whisking together the pudding mix with two cups of milk until it thickens. It should take around 2 minutes. Set it aside to set fully while you move on to the next steps.
While the pudding is setting, take the package of Oreos and crush them into a fine crumb. You can do this using a food processor, or if you want to get a bit old school, put them in a zip bag and crush them with a rolling pin. Just don’t make the pieces too big - you want some finer crumbs to resemble dirt.
Now it’s time to assemble! In small cups or bowls, start by adding a layer of chocolate pudding. Then sprinkle a layer of crushed Oreos – be generous! Add a spoonful of whipped topping next. Repeat these layers until the cups are nearly full, finishing with a layer of crushed Oreos on top.
For the final touch, place some gummy worms on top for fun. Let them chill in the refrigerator for at least 10 minutes before serving. If you're making them ahead of time, you can cover them and store them in the fridge for a couple of days.
Nutritional Breakdown (Per Serving)
- Calories (kcal): 286
- Total Fat (g): 14.1
- Saturated Fat (g): 7.3
- Cholesterol (mg): 20
- Sodium (mg): 212
- Total Carbohydrates (g): 36.7
- Dietary Fiber (g): 1.4
- Sugars (g): 24.8
- Protein (g): 4.2